บทความล่าสุด


ใครที่เป็นสายทำเล็บเจลต้องเคยเจอปัญหานี้ พอถอดเจลออกแล้วมองลงไปที่เล็บ แล้วพบว่าเล็บบาง โปร่งแสง ผิวเล็บหยาบ หรือแตกเป็นชั้น นั่นไม่ใช่ความผิดของคุณ และไม่ใช่เรื่องที่ต้องกังวลถาวร เพราะหน้าเล็บสามารถฟื้นฟูได้ถ้ารู้วิธีดูแลที่ถูกต้อง

ทำไมเล็บถึงพังหลังถอดเจล?
ก่อนจะฟื้นฟู ต้องเข้าใจก่อนว่าเกิดอะไรขึ้นกับเล็บ
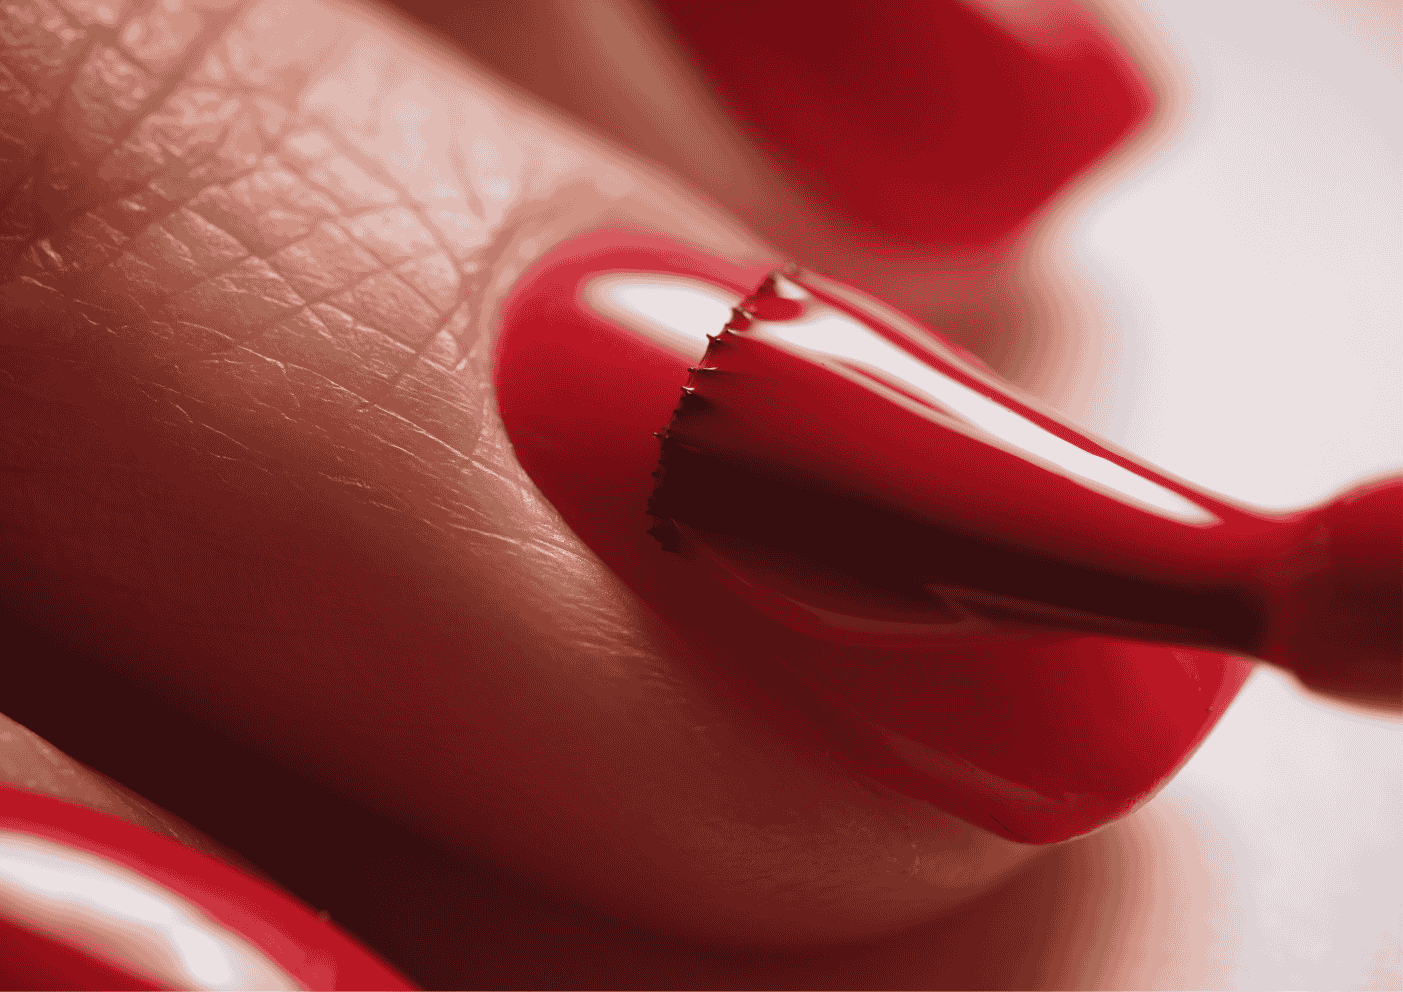
เล็บเจลติดทนเพราะเข้าไปเกาะกับชั้นผิวบนสุดของหน้าเล็บ เมื่อถอดออก โดยเฉพาะถ้าใช้วิธีแกะหรือดึง จะทำให้ชั้นผิวเล็บ (Nail Plate) ถูกทำลาย เกิดภาวะที่เรียกว่า Nail Delamination หรือการลอกเป็นชั้น นอกจากนี้ กระบวนการแช่ Acetone เป็นเวลานานยังทำให้เล็บสูญเสียความชุ่มชื้นตามธรรมชาติออกไปด้วย
สาเหตุหลักที่ทำให้เล็บพังหลังถอดเจล ได้แก่ การแกะหรือดึงเจลออกโดยไม่แช่ Acetone ให้นานพอ การแช่ Acetone นานเกินไปโดยไม่ปกป้องผิวรอบเล็บ ช่างตะไบหน้าเล็บก่อนทำเจลลึกเกินไปทุกครั้ง การทำเจลซ้อนเจลโดยไม่ให้เล็บพักตัว และการขาดสารอาหารที่จำเป็นต่อการเจริญเติบโตของเล็บ
สัญญาณที่บอกว่าหน้าเล็บต้องการการฟื้นฟู
สัญญาณที่พบได้บ่อย ได้แก่ เล็บบางผิดปกติจนมองเห็นแสงผ่านได้, เล็บยืดหยุ่นและงอได้ง่ายกว่าปกติ, ผิวหน้าเล็บหยาบมีรอยขีดข่วนหรือเป็นลาย, เล็บแตกแนวนอนหรือลอกเป็นชั้น, เล็บเปลี่ยนสีเป็นขาวขุ่นหรือเหลืองอ่อน และรู้สึกเจ็บหรือระคายเคืองเมื่อโดนน้ำร้อน
ถ้าคุณมีอาการเหล่านี้ตั้งแต่ 2-3 ข้อขึ้นไป นั่นแปลว่าหน้าเล็บของคุณต้องการความช่วยเหลืออย่างเร่งด่วน

แผนฟื้นฟูหน้าเล็บ 4 สัปดาห์ ทำเองได้ที่บ้าน
สัปดาห์ที่ 1: หยุดสิ่งที่ทำร้ายเล็บ
ก่อนจะเติมสิ่งดีให้เล็บ ต้องหยุดสิ่งที่ดึงพลังงานออกจากเล็บก่อน
สิ่งที่ต้องหยุดทันที ได้แก่ การทำเจล เจลเล็บ หรือสีเล็บที่ต้องใช้ Acetone ถอด, การแกะสีเล็บหรือผิวเล็บด้วยมือ, การตะไบเล็บหนักหรือบ่อยเกินไป และการสัมผัสน้ำยาล้างจานหรือสารเคมีโดยไม่สวมถุงมือ
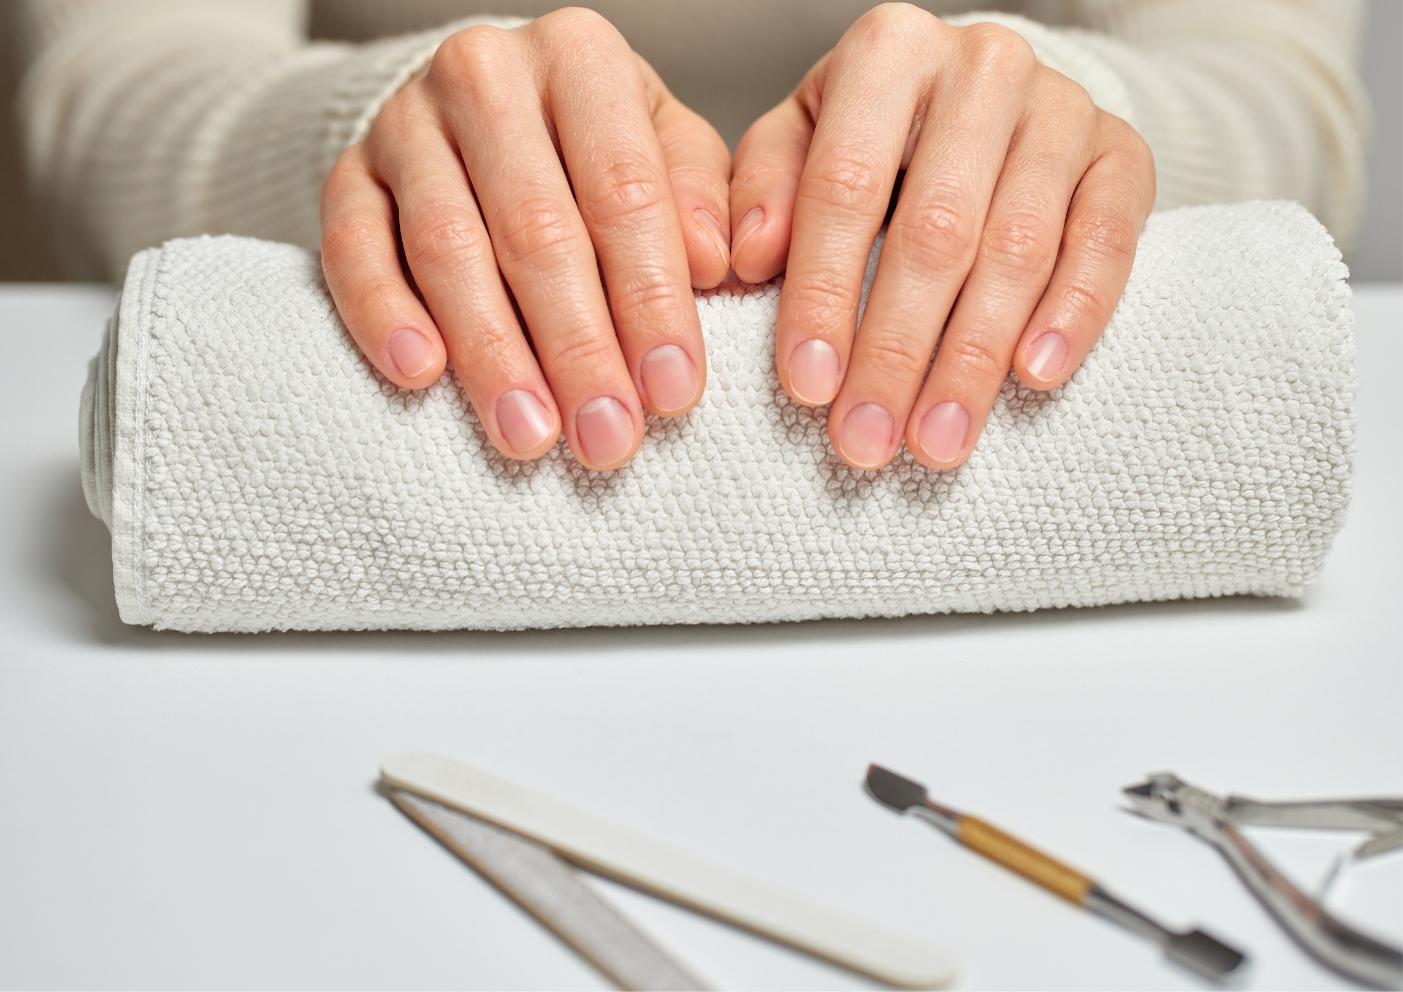
สิ่งที่ควรทำแทน ได้แก่ สวมถุงมือยางทุกครั้งที่ล้างจานหรือทำความสะอาดบ้าน, ทาครีมบำรุงมือและเล็บทุกครั้งหลังล้างมือ และตัดเล็บให้สั้นเพื่อลดแรงกระแทกที่อาจทำให้เล็บแตก
สัปดาห์ที่ 2: บำรุงความชุ่มชื้นจากภายนอก
เล็บที่พังจากเจลส่วนใหญ่ขาดน้ำและไขมันธรรมชาติ การเติมความชุ่มชื้นคือหัวใจของการฟื้นฟู
น้ำมันบำรุงรอบเล็บ (Cuticle Oil)
น้ำมันบำรุงรอบเล็บคือสิ่งที่ขาดไม่ได้ ไม่ว่าจะเป็นน้ำมันอะโวคาโด น้ำมันโจโจ้บา หรือน้ำมันอาร์แกน ให้ทาที่บริเวณโคนเล็บและหน้าเล็บเช้าเย็นและก่อนนอน นวดเบาๆ เป็นวงกลมเพื่อกระตุ้นการไหลเวียนโลหิต
Nail Strengthener หรือ Base Coat บำรุง
เลือก Nail Strengthener ที่มีส่วนผสมของ Keratin, Biotin หรือ Calcium ทาบางๆ 1 ชั้นเพื่อสร้างชั้นป้องกันให้หน้าเล็บ อย่าทาหนาเพราะจะทำให้เล็บหายใจไม่ออก
วาสลีนหรือมอยส์เจอไรเซอร์เข้มข้น
ก่อนนอน ทาวาสลีนหรือ Hand Cream ที่มีส่วนผสม Shea Butter หนาๆ แล้วสวมถุงมือผ้าทิ้งไว้ข้ามคืน เทคนิคนี้เรียกว่า Slugging ช่วยให้ผิวมือและเล็บชุ่มชื้นลึกขึ้นอย่างเห็นได้ชัด
สัปดาห์ที่ 3: เสริมความแข็งแรงจากภายใน
เล็บประกอบด้วยโปรตีนชื่อ Keratin การกินอาหารที่ถูกต้องจะช่วยให้เล็บใหม่ที่โตขึ้นมาแข็งแรงกว่าเดิม
| สารอาหาร | ประโยชน์ต่อเล็บ | แหล่งอาหาร |
|---|---|---|
| Biotin (วิตามิน B7) | สร้าง Keratin เสริมความแข็งแรง | ไข่ อัลมอนด์ มันเทศ |
| Protein | โครงสร้างหลักของเล็บ | เนื้อสัตว์ ถั่ว โยเกิร์ต |
| สังกะสี (Zinc) | ซ่อมแซมเนื้อเยื่อ | เนื้อวัว เมล็ดฟักทอง |
| วิตามิน E | ป้องกันความเสียหายจากอนุมูลอิสระ | ถั่ว น้ำมันมะกอก |
| ธาตุเหล็ก | ส่งออกซิเจนไปเลี้ยงเล็บ | ผักใบเขียว เนื้อแดง |
| วิตามิน C | สร้างคอลลาเจน | ส้ม ฝรั่ง พริกหวาน |
นอกจากอาหาร การดื่มน้ำให้เพียงพออย่างน้อย 8 แก้วต่อวัน ก็ช่วยให้เล็บชุ่มชื้นจากภายในด้วย
สัปดาห์ที่ 4: บำรุงเป็นกิจวัตรและประเมินผล
ในสัปดาห์สุดท้าย ให้รวบรวมทุกอย่างที่ทำมาเป็น Daily Routine ที่ทำได้จริงในชีวิตประจำวัน
ช่วงเช้า: ทา Cuticle Oil ที่โคนเล็บ, ทา Hand Cream หลังล้างมือ และสวมถุงมือทุกครั้งก่อนสัมผัสสารเคมี
ก่อนนอน: ทา Cuticle Oil อีกครั้ง, ทา Hand Cream เข้มข้นพร้อมนวดมือและเล็บเบาๆ และสวมถุงมือผ้าข้ามคืน 2-3 ครั้งต่อสัปดาห์
DIY สูตรบำรุงเล็บจากของในบ้าน
ถ้าไม่อยากซื้อผลิตภัณฑ์เพิ่ม ลองสูตรเหล่านี้ได้เลย
สูตรแช่เล็บน้ำมะนาวและน้ำมันมะกอก
ผสมน้ำมะนาว 1 ช้อนโต๊ะกับน้ำมันมะกอก 2 ช้อนโต๊ะ แช่นิ้วทิ้งไว้ 10-15 นาที สัปดาห์ละ 2 ครั้ง ช่วยลดการเหลืองของเล็บและเพิ่มความชุ่มชื้น
สูตรกระเทียมบำรุงเล็บ
นำกระเทียม 1 กลีบบดละเอียด แล้วผสมกับ Clear Nail Polish ทิ้งไว้ 7-10 วัน จากนั้นทาเป็น Base Coat สาร Allicin ในกระเทียมช่วยเสริมความแข็งแรงของเล็บตามธรรมชาติ
สูตรน้ำมันมะพร้าวและวิตามิน E
ผสมน้ำมันมะพร้าว 1 ช้อนชากับวิตามิน E จากแคปซูล 1 เม็ด คนให้เข้ากัน ทานวดที่เล็บก่อนนอน ช่วยให้เล็บเนียนและแข็งแรงขึ้น

สิ่งที่ไม่ควรทำเด็ดขาดระหว่างฟื้นฟูเล็บ
อย่าตัดคิวติเคิลออก เพราะคิวติเคิลทำหน้าที่ปกป้องโคนเล็บจากแบคทีเรียและเชื้อรา การตัดออกจะเพิ่มความเสี่ยงในการติดเชื้อ อย่าแกะหรือกัดเล็บเพราะจะทำให้ชั้นเล็บที่กำลังฟื้นฟูตัวเสียหายซ้ำ อย่าใช้ Acetone เข้มข้นโดยไม่จำเป็น ถ้าต้องการถอดสีเล็บให้ใช้ Non-Acetone Remover แทน อย่าทำ Acrylics หรือ Hard Gel ทันทีหลังถอดเจล ให้เล็บพักอย่างน้อย 2-4 สัปดาห์ก่อน และอย่าตะไบเล็บจนหน้าเล็บร้อนเพราะความร้อนทำให้ชั้นเล็บเสียหายมากขึ้น
เมื่อไหร่ควรไปพบช่างเล็บหรือแพทย์?
แม้ว่าการฟื้นฟูเล็บส่วนใหญ่จะทำได้เองที่บ้าน แต่มีบางกรณีที่ควรขอคำแนะนำจากผู้เชี่ยวชาญ ได้แก่ เล็บเปลี่ยนสีเป็นเหลืองเข้ม เขียว หรือดำซึ่งอาจเป็นสัญญาณของเชื้อรา, มีอาการปวด บวม แดง หรือมีของเหลวไหลออกจากบริเวณเล็บ, เล็บไม่โตขึ้นเลยหลังจาก 6-8 สัปดาห์ และหน้าเล็บแยกออกจากฐานเล็บ (Onycholysis) ในกรณีเหล่านี้ควรพบแพทย์ผิวหนังเพื่อตรวจวินิจฉัยอย่างละเอียด
เมื่อไหร่จึงจะกลับมาทำเจลได้อีกครั้ง?
คำตอบคือเมื่อหน้าเล็บกลับมาแข็งแรงเพียงพอ ซึ่งโดยทั่วไปใช้เวลาประมาณ 4-8 สัปดาห์ ขึ้นอยู่กับความเสียหายเดิม
สัญญาณที่บอกว่าเล็บพร้อมทำเจลแล้ว ได้แก่ หน้าเล็บแข็งและไม่ยืดหยุ่นผิดปกติ, ผิวเล็บเรียบไม่มีรอยลอกหรือหลุดเป็นชั้น, ไม่รู้สึกเจ็บหรือระคายเคืองเมื่อโดนน้ำ และเล็บใหม่ที่โตขึ้นมามีสุขภาพดี
และเมื่อกลับมาทำเจลครั้งต่อไป ขอแนะนำให้แจ้งช่างเล็บถึงประวัติเล็บของคุณ เพื่อให้ช่างเลือก Base Coat ที่บำรุงพิเศษ และหลีกเลี่ยงการตะไบหน้าเล็บโดยไม่จำเป็น
สรุป: เล็บพังไม่ใช่เรื่องถาวร ถ้าดูแลถูกวิธี
หน้าเล็บที่เสียหายจากเจลสามารถฟื้นฟูได้ด้วยการหยุดสิ่งที่ทำร้ายเล็บ เติมความชุ่มชื้น บำรุงจากภายใน และมีความอดทน เล็บของคุณจะค่อยๆ แข็งแรงขึ้นในทุกมิลลิเมตรที่โตออกมา
อย่าลืมว่าเล็บโตประมาณ 3-4 มิลลิเมตรต่อเดือน นั่นหมายความว่าต้องรอให้เล็บโตออกมาใหม่ประมาณ 3-6 เดือนกว่าจะเห็นหน้าเล็บที่สมบูรณ์ 100% ความอดทนคือสิ่งที่สำคัญที่สุดในกระบวนการนี้
หากต้องการให้ผู้เชี่ยวชาญช่วยประเมินสภาพเล็บและแนะนำโปรแกรมบำรุงที่เหมาะกับคุณ ทีมงานของเรายินดีให้คำปรึกษาฟรี